

Anyone who has seen the cookbook portion of my bookshelf knows the lawful chaos of my spiral-bound cookbooks and the many, many post-its donning their pages. I had saved this recipe for a bit, marking it with a bright pink post-it, waiting for the perfect time to offer up a huge portion of dinner rolls. These babies can easily double as mini sandwich rolls, and it’s nearly picnic season. So it was time to pop out the pink post-it and preheat my oven.
The Three Rivers Cookbook, Volume II is truly the amped-up version of its first volume. The Pittsburgh recipe collection not only includes homespun recipes from local contributors but also peppers in celebrity recipes, as well as recipes from beloved local chefs and restaurants. In the first ever edition of this column, I tested out the recipe for Mr. Rogers’ favorite carrots. This time I’m testing a recipe from another Pittsburgh legend: the one and only Don Riggs.
If you grew up in Pittsburgh, chances are you remember Don Riggs, the beloved weatherman who graced our parents’ TV screens. With his signature bow ties, goofy kids’ show past, and no-nonsense approach to forecasting, Riggs became a household name, guiding Pittsburghers and our parking chairs through rain, snow, and wind.
But on the home front, Don Riggs and his wife, Joan, raised four children: two sons and two daughters. The couple also cherished their four grandchildren. No wonder this recipe produces so many rolls. I can only imagine the dinners at Don’s house, especially when his four kids were all teenagers!
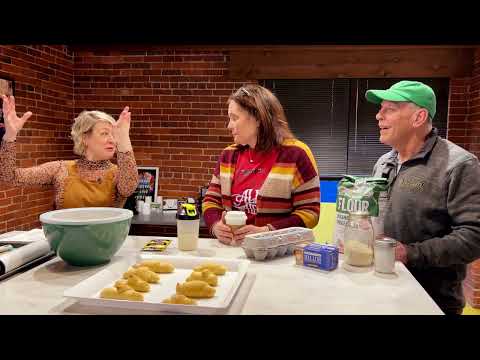
I decided to put Don Riggs’ favorite dinner roll recipe to the test, bringing a little bit of his legacy into my kitchen, and sharing the process with our friends at YaJagoff!

To make these rolls, you need to have some time on your hands; the dough should be started the night before you bake them. The original recipe reads as follows:
- 1 cake yeast
- ½ cup sugar
- 1 cup milk
- 2 eggs well-beaten
- 1 tsp. salt
- 4 cups flour
- ½ cup butter, melted
Crumble yeast in the milk, then mix with the sugar and let stand ½ hour. Add eggs, salt, flour, and butter. Knead. Cover and let stand overnight without refrigeration. Next morning, punch down the dough. Take about ¼ of the dough at a time and roll each hunk out on a floured surface to pie-pan size, about ½ inch thick. Cut each of these round shapes into 8 wedges and roll up the wedges from the wide end. Place on a well-oiled cookie sheet and let rise 3-4 hours. Bake at 400° for 10 minutes.
These days, it’s hard to find yeast cakes, unless you’re heading to a specialty baking store. However, yeast packets are extremely easy to find. The problem is that yeast cakes in the 1980s came in 2 standard sizes: 0.6 oz. and 2 oz. There was no way of telling which size yeast cake Mr. Riggs meant, so I went with the smaller size conversion: 0.6 oz. yeast cake = 1 packet of dry yeast. It worked perfectly.
In this recipe, it does not say that the milk should be warmed, but it should. That way, your yeast can get nice and bubbly before mixing your dough. So I popped mine in the microwave for 10 seconds at a time so it became warm without getting too hot. The best way to be sure you have the right temperature is to use a kitchen thermometer to ensure that your milk sits between 105°F and 115°F before mixing in the sugar, then adding the yeast.
After the yeast got nice and bubbly (½ hour was perfect timing), I added the first 2 cups of flour, melted butter, eggs, salt, and the yeast mixture to my KitchenAid stand mixer with the dough hook attachment. I mixed it up, then slowly added the last 2 cups of flour. I covered my KitchenAid bowl with a tea towel overnight, allowing the dough to rise.

Then came the fun part: making the little rolls! Yes, these look just like Pillsbury Crescent Rolls, but they are denser, breadier, and have less butter flavor. I rolled these up and let them sit for about 3 hours before baking them in the oven on a cooking sheet with a silicone cover (instead of grease). Ovens vary, but 11 minutes was the magic number for me. I slathered these babies in melted butter after they came out of the oven.
Here is a printable PDF of the recipe for your collection:
This article appears in Mar 26 – Apr 1, 2025.


